Hello there! I'm Krystal, but everyone calls me Krys. I'm from a little blog called Keeping Plus In A Minus World. I'm a fairly new blogger but everyone has to start somewhere right?! My blogging consists of some daily life to life with some of my furbabies, gardening, cooking & crocheting mixed in. I'm so honored to be a guest blogger here on Helen's Blue Eyed Beauty Blog.
Congratulations Helen on your wedding! :)
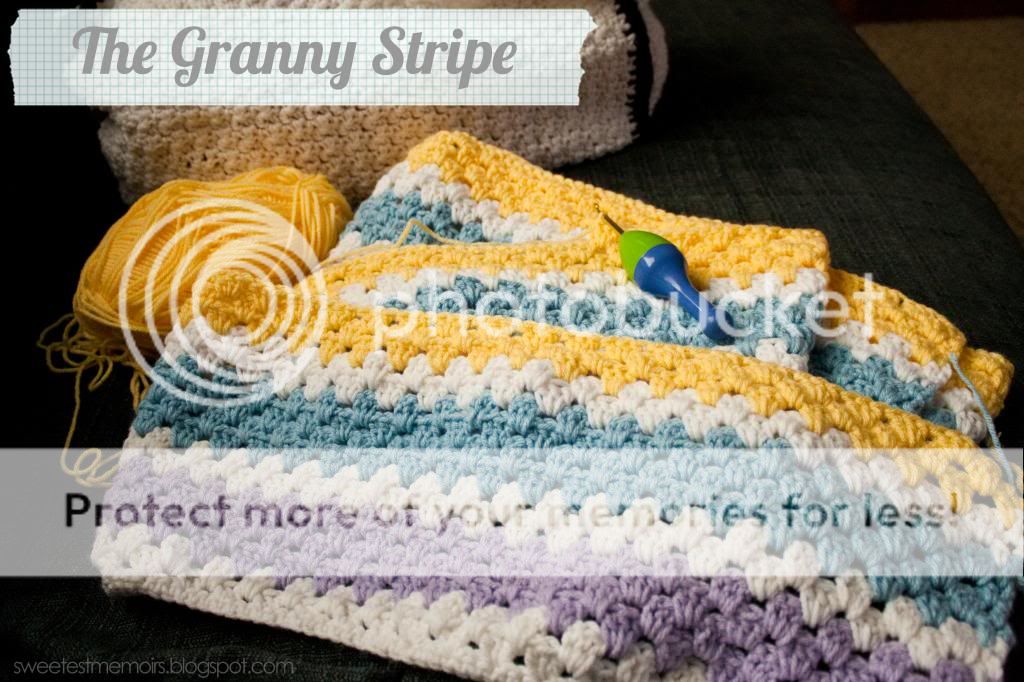
In today's post I'm going to attempt to show you how to Crochet a Granny Stripe pattern. If you are familiar with the Granny Square then this pattern will probably be fairly simple to you once you get the hang of it. I really like the looks of it & how quickly I was able to pick it up. I am currently working on a fairly large blanket, somewhere between full & queen sized so I'm not too far along on it yet.
For this demonstration I decided to start a little smaller so that I can show you step-by-step as much as possible. The trick to this pattern is multiples of three, plus two. For example, my blanket above started with a chain of three hundred plus two so 302 stitches. This is very important since if you are off by one or two your work won't like up as it should.
The stitches that you need to know for this project are Single Crochet (SC) and Double Crochet (DC). I don't really think it matters the size of the hook you are using. For this project I am using a size H 5mm hook.
So for this post I used a chain of thirty, plus two. I find that this seemed to be a good width for a scarf. Please feel free to chain as many as you need to make your project to your desired width. Just make sure that it is a multiple of three, plus two at the end.

After you have made your chain length, you want to skip two chains from the hook. Single Crochet into that third chain & all the way across your length of chain.
Once you have your single crochet's finished, you want to turn your work and chain 3.
Double Crochet once in the first space.
Skip two stitches, then double crochet three times in the next space. Skip two stitches, double crochet three times in the next. Continue along till you reach the last space. Double crochet once in that last space. Turn work...
Now here is where you can either chain three & continue with the same color for a thicker stripe, or you can cut your yarn & join your second color. Either way, chain three.
Double crochet once in that first space, skip two stitches, double crochet three times in the next stitch. Continue along exactly the same as the last row. Ending with one double crochet, turn.
Repeat the same steps for as long as it takes you to achieve your desired length. Changing color, turning & chaining three.
I'll probably continue this on until it's a nice scarf length, but for now I am going to pick back up on my blanket. I hope that this made sense & that you all are able to make some beautiful blankets or scarves too! :)
Thank you for reading! And thank you once again Helen for the opportunity to guest post on your wonderful blog! You'll have to come over to my blog & honor me with your presence as well! :D


Awesome tutorial!! You made it look do easy!!
ReplyDeleteTake care,
Nonny
www.notionsfromnonny.blogspot.com
Oh em Gee...That looks awesome. I wish I had the patience to do that though.
ReplyDeleteThanks so much for letting me be a guest host Helen! Congrats on getting married! xox
ReplyDeleteThanks for this tutorial, Krystal! I am pinning it because I enjoy easy crochet projects, so I think I can handle this one. I'm also going to stop by your blog to check out your other projects.
ReplyDeleteBonny @ thedomesticatedprincess.com
Great tutorial! It's a simple little stitch, isn't it? Your pics are very straightforward. I need to get out my yarn and start crocheting again. I wanna see a pic of you cuddled up in the blankie! :)
ReplyDeleteCongratulations on the marriage, Helen.